A BIOS update can add CPU support, correct security issues, improve memory compatibility or fix a problem documented by the motherboard manufacturer. It is also one of the few PC maintenance jobs where choosing the wrong file or losing power at the wrong moment can stop the system from booting.
The safest approach is deliberately boring: confirm the exact board, read its instructions, prepare recovery information and avoid touching the computer while it flashes. This guide explains that process without assuming every motherboard works the same way.
Do you actually need a BIOS update?
Do not update only because a newer version exists. Read the release notes on the official support page. Good reasons include support for a new CPU you plan to install, a vendor-listed security correction, a stability fix that matches your symptoms, or a firmware version required by another component.
If the PC is stable and the new release changes nothing relevant, waiting is reasonable. Avoid beta BIOS releases unless their specific fix is necessary and you accept the additional risk.
1. Identify the exact motherboard and revision
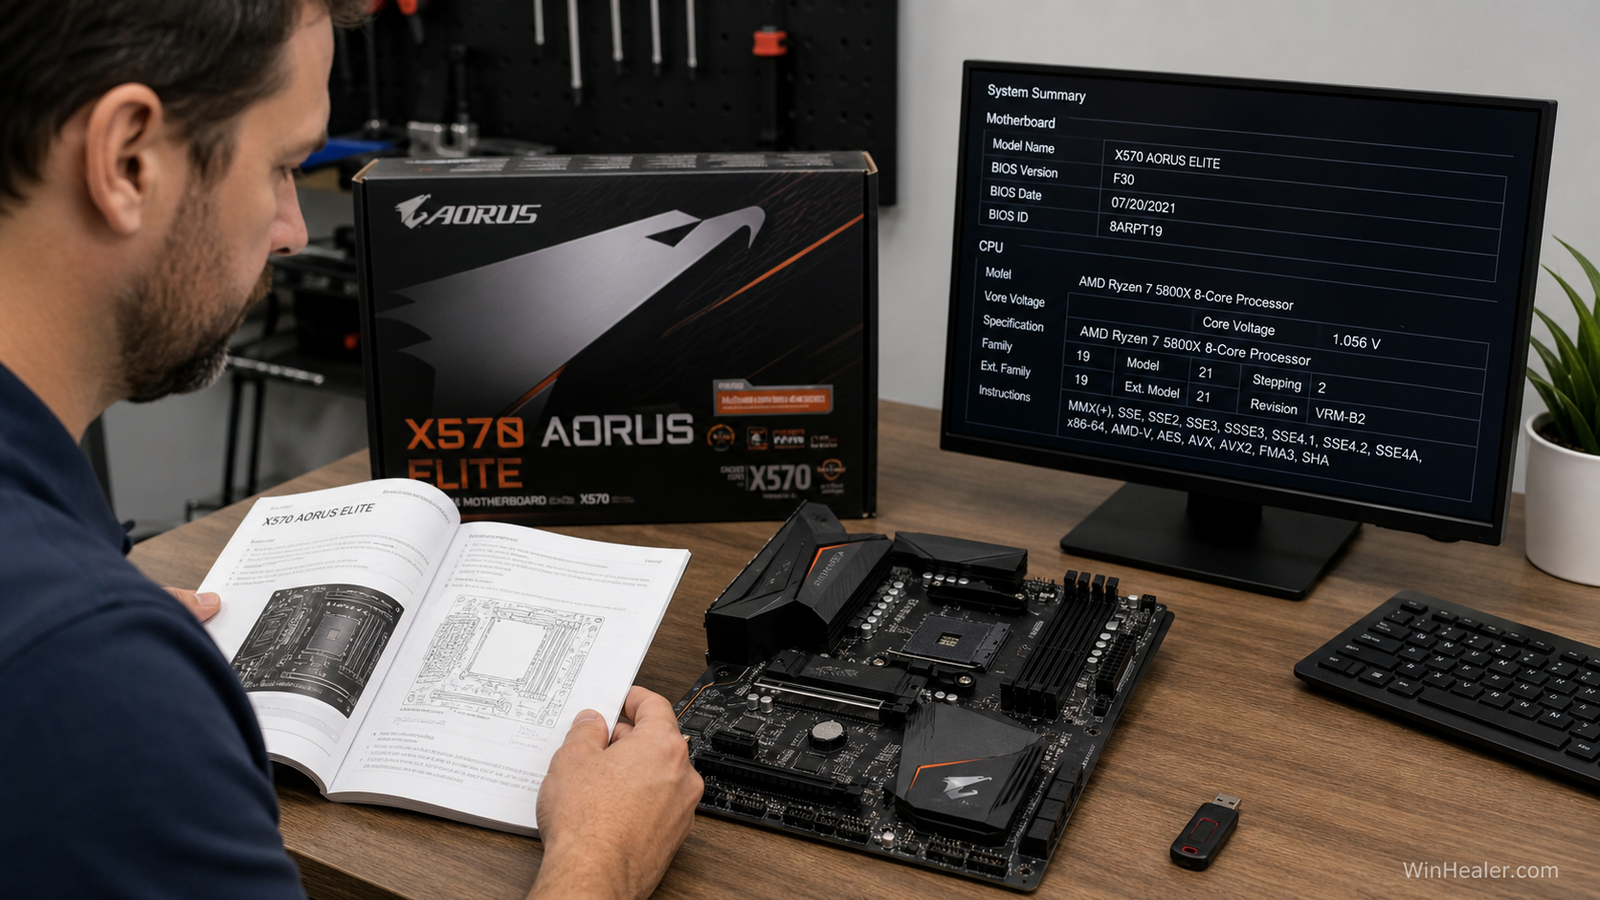
Press Windows + R, enter msinfo32, and note BaseBoard Manufacturer, Product and BIOS Version/Date. Confirm those details against the model printed on the motherboard or its box. Prebuilt PCs may require firmware from the PC manufacturer rather than the retail motherboard brand.
Some boards share almost identical names but use different Wi-Fi versions, PCB revisions or regional variants. A BIOS for “B650 Gaming” is not automatically valid for “B650 Gaming WiFi II.” Gigabyte boards can also have a revision number printed on the PCB. The support page must match every relevant identifier.
2. Read the vendor instructions and release notes
Download firmware only from the official support page for your exact product. Read all notes between your installed version and the target version. A vendor may require an intermediate BIOS, a specific file-renaming tool, an updated management-engine package or a particular USB port.
ASUS EZ Flash, MSI M-FLASH, Gigabyte Q-Flash and ASRock Instant Flash are similar in purpose, but their file names and procedures are not interchangeable. Follow the manual for your board, not a video featuring a vaguely similar model.
3. Save the settings you may need afterward
A firmware update may reset defaults. Photograph or write down the settings that matter:
- Boot order and storage mode
- XMP or EXPO memory profile
- Fan curves
- Secure Boot and TPM settings
- Virtualization options
- Custom CPU tuning or power limits
Return overclocked hardware to stable defaults before flashing. Saved BIOS profiles may not remain compatible across firmware versions, so written notes are more dependable.
4. Protect your BitLocker recovery path
A firmware or TPM-related change can trigger a BitLocker recovery prompt. Before updating, confirm that you can retrieve the recovery key and save it somewhere separate from the PC. On a personal Microsoft account, check the official recovery-key page; managed work devices may store the key with the organization.
If BitLocker or Device Encryption is active, follow Microsoft or your IT administrator’s guidance to suspend protection for the firmware change. Suspending is not the same as decrypting the whole drive. Resume protection after the computer boots normally and the firmware configuration is confirmed.
5. Prepare the USB drive exactly as directed
Use a reliable, simple USB flash drive. Many vendor UEFI tools expect FAT32. Formatting erases the drive, so copy its existing files elsewhere first. Extract the downloaded archive; do not assume the updater can read the ZIP file.
Copy the BIOS file to the root of the USB drive unless the manual says otherwise. Rename it only when the vendor’s instructions require that step. For example, a dedicated Flash BIOS Button may need a fixed filename, while the normal in-UEFI utility may use the original filename.
6. Provide stable power
Do not begin during a storm, a known power problem or when a laptop battery is nearly empty. Keep a laptop connected to its charger. For a desktop, a working UPS is ideal where outages are possible. Disconnect unnecessary USB devices, but leave the keyboard and prepared firmware drive connected.
7. Flash from the motherboard’s built-in UEFI utility
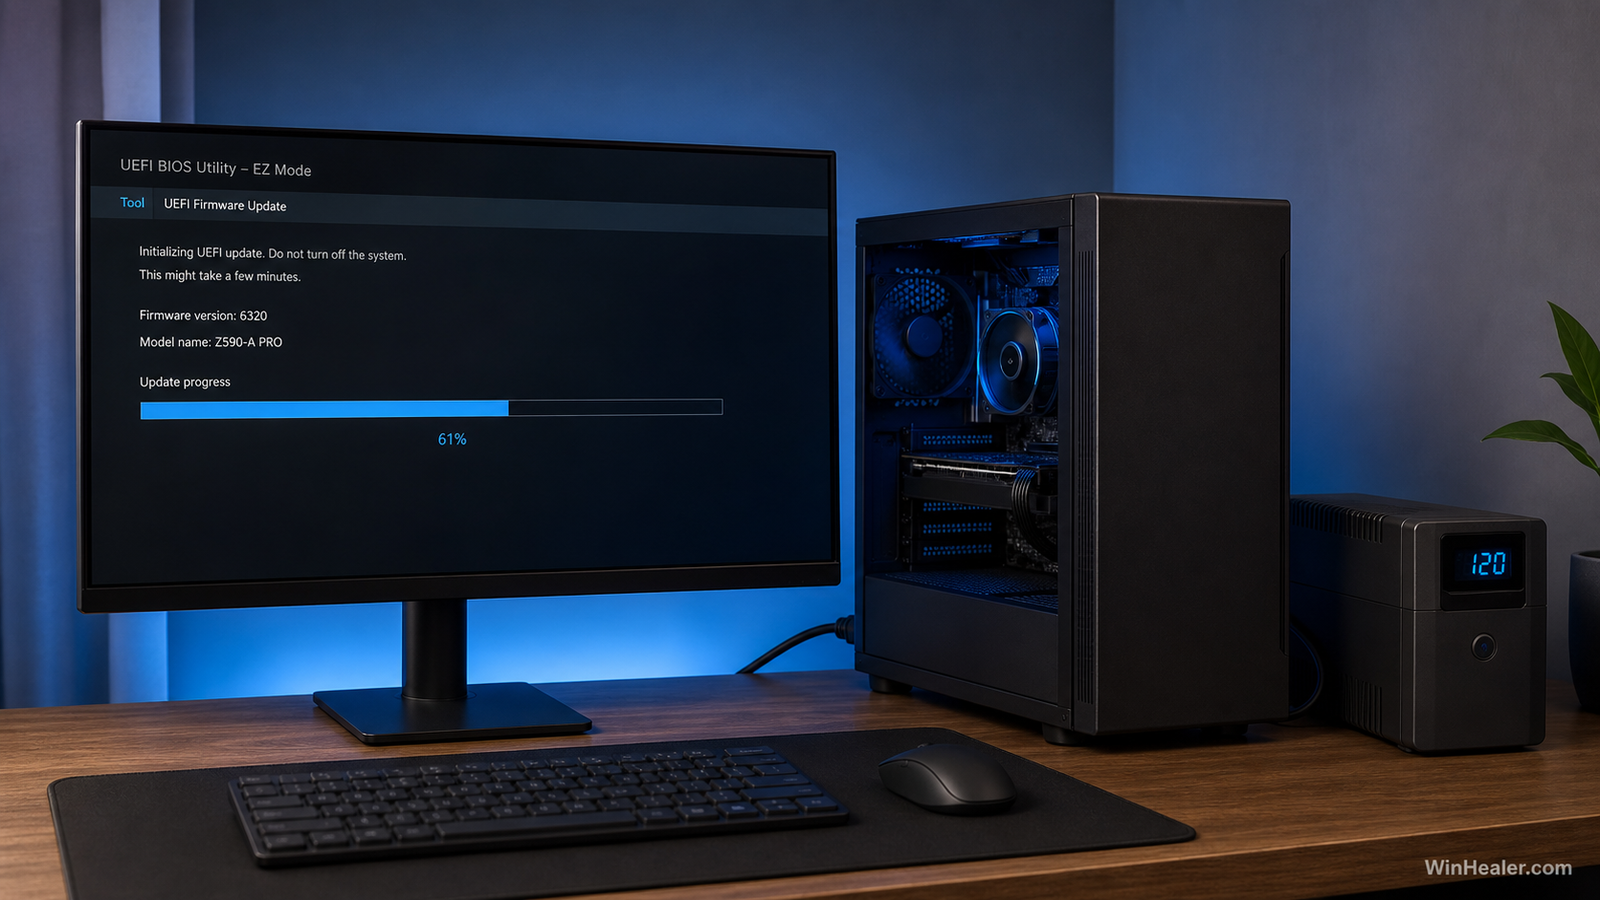
Restart and enter UEFI setup, commonly with Delete or F2. Open the board’s integrated update utility, select the prepared USB drive and verify the displayed model and target version one last time. Start only when the match is exact.
Once flashing begins:
- Do not power off or restart the PC.
- Do not remove the USB drive.
- Do not press keys unless the vendor instructs you to.
- Do not assume a temporarily blank screen means failure.
MSI’s official M-FLASH guide explicitly warns against shutting down, disconnecting power or removing the USB drive during the update. The same principle applies to other vendors.
8. Be patient during the first boot
The board may restart more than once. DDR5 systems can spend several minutes training memory, with fans changing speed and the screen remaining blank. Do not interrupt this process prematurely. Check the motherboard’s diagnostic LEDs and manual before deciding that it is stuck.
When UEFI appears, load optimized defaults if the vendor tells you to, save and restart. Re-enter UEFI to confirm the new BIOS version, then restore only the settings you recorded. Enable XMP or EXPO after the first successful boot rather than stacking every change at once.
9. Confirm Windows and encryption status
Boot into Windows, confirm the date and time, network adapter, storage devices and memory capacity. Open msinfo32 again to verify the new BIOS version. If you suspended BitLocker, resume protection and verify its status. Test normal workloads before reapplying any overclock.
If the PC does not boot
Do not repeatedly cut power. Consult the exact motherboard manual for its recovery feature. Boards with BIOS Flashback, Flash BIOS Button, Q-Flash Plus or DualBIOS may recover without a normal boot, but the USB port, filename and button sequence are model-specific.
Try a CMOS reset only according to the manual; it clears settings but does not repair an incorrectly written firmware image. If the board lacks a supported recovery method, contact the manufacturer or a qualified repair service.
Common mistakes that cause trouble
- Flashing firmware for a similar but different board or PCB revision
- Using an unofficial download mirror
- Skipping a required intermediate release
- Renaming the file according to instructions for another model
- Ignoring BitLocker recovery preparation
- Interrupting the update because the screen goes blank
- Restoring aggressive memory settings before confirming a clean boot
Final checklist
- Exact board model and revision confirmed
- Official release notes read
- Important UEFI settings recorded
- BitLocker recovery key secured
- Correct extracted file on the required USB format
- Stable power available
- Built-in vendor update tool selected
- No interruption until the update and restarts finish
- Firmware version and Windows operation verified afterward
Final thoughts
A BIOS update is not difficult when the preparation is precise. Most avoidable failures come from mismatched firmware, skipped vendor requirements or interrupted power. Spend five extra minutes confirming the model and recovery information; those minutes are far cheaper than recovering a board that no longer starts.