Have you ever turned on your Windows 11 PC only to discover that there’s no sound? Whether you’re watching videos, joining online meetings, or playing games, audio problems can be frustrating. The good news is that most Windows 11 sound issues can be fixed in just a few minutes.
In this guide, we’ll walk through the most common causes and their solutions.
Common Audio Problems in Windows 11
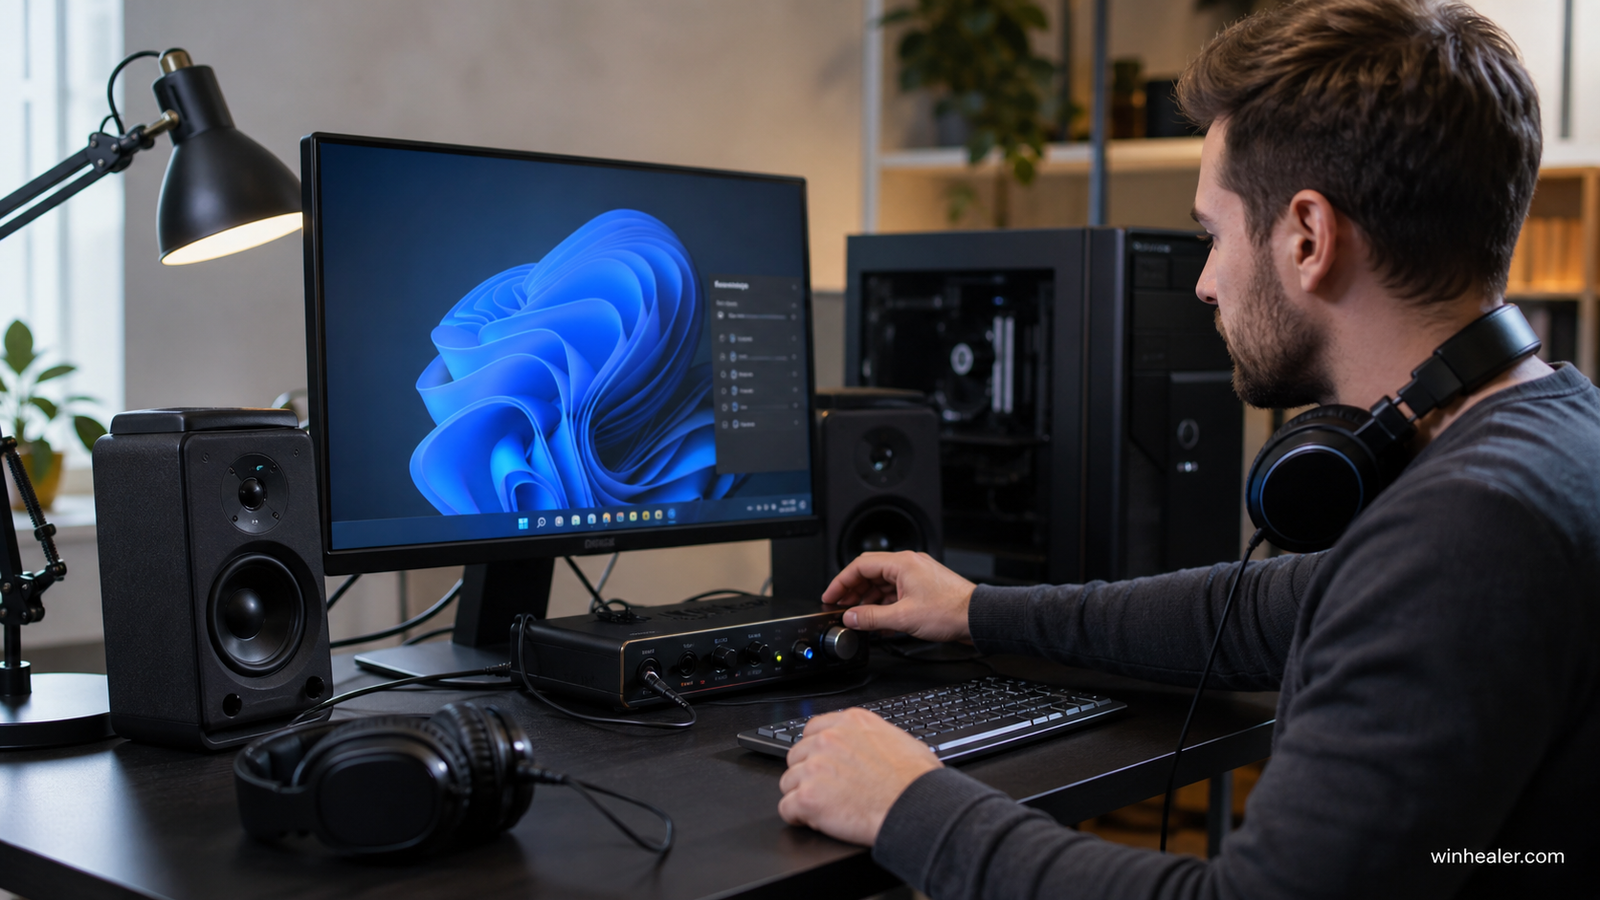
Users frequently report issues such as:
- No sound from speakers or headphones
- Audio suddenly stops working
- Crackling or distorted sound
- Bluetooth headphones not playing audio
- Microphone not detected
- Low or uneven volume
- “No output device found” message
1. Check the Volume Settings
Before trying advanced fixes, make sure:
- The system volume is not muted.
- The correct playback device is selected.
- External speakers or headphones are properly connected.
- The application’s volume is turned up.
2. Restart Your Computer
A simple restart can reload audio services and fix temporary software glitches.
3. Run the Windows Audio Troubleshooter
Windows 11 includes a built-in troubleshooter that can automatically detect and fix many sound problems.
Go to:
Settings → System → Troubleshoot → Other troubleshooters → Audio
Run the troubleshooter and follow the on-screen instructions.
4. Update or Reinstall Audio Drivers
Outdated or corrupted drivers are one of the most common causes of audio problems.
To update your driver:
- Right-click the Start button.
- Open Device Manager.
- Expand Sound, video and game controllers.
- Right-click your audio device.
- Choose Update driver.
If updating doesn’t help, uninstall the device and restart your computer. Windows will usually reinstall the correct driver automatically.
5. Restart Windows Audio Services
Sometimes Windows audio services stop running correctly.
- Press Win + R.
- Type services.msc.
- Find Windows Audio.
- Right-click it and choose Restart.
6. Check Your Playback Device
If multiple audio devices are connected, Windows may choose the wrong one.
Go to:
Settings → System → Sound
Select the correct output device for your speakers or headphones.
7. Disable Audio Enhancements
Some audio enhancements can cause distortion or prevent sound from working.
Open your sound device properties and disable Audio Enhancements to test whether the issue is resolved.
8. Update Windows
Microsoft frequently releases updates that fix driver compatibility and audio bugs.
Open:
Settings → Windows Update
Install all available updates and restart your PC.
9. Repair Corrupted System Files
Corrupted Windows files can affect audio.
Open Command Prompt (Administrator) and run:
sfc /scannow
After it finishes, restart your computer.
10. Check Bluetooth Audio Devices
If you’re using Bluetooth headphones:
- Disconnect and reconnect the device.
- Remove it from Bluetooth settings and pair it again.
- Ensure the headphones are selected as the default playback device.
When Hardware May Be the Problem
If none of the software fixes work, check for hardware issues:
- Damaged headphone cable
- Faulty speakers
- Loose audio jack
- Defective USB audio adapter
- Motherboard audio failure
Testing with another pair of headphones or speakers can help identify hardware problems.
Final Thoughts
Most Windows 11 audio problems are caused by incorrect settings, outdated drivers, or temporary software glitches. By following the steps in this guide, you can resolve the majority of sound issues without reinstalling Windows.
If the problem continues, consider checking your computer manufacturer’s latest audio drivers or contacting their support team.
Need more Windows 11 fixes? Stay tuned to WinHealer for simple, step-by-step guides that help keep your PC running smoothly.