The NVIDIA App normally keeps a GeForce PC’s driver, game settings, recording tools and graphics features in one place. When it refuses to open, stays on a black screen or fails midway through a driver installation, the quickest fix is not always a complete Windows reinstall. Start with the least disruptive checks and only move to a clean driver installation when the evidence points there.
Before changing anything: save your work, restart the PC once, and note the exact error message. A failed download, an installer error and a display that turns black after installation are different problems, even though they can look related.
Quick checklist
- Confirm that Windows is fully loaded and your internet connection is stable.
- Close overlays, monitoring utilities and third-party antivirus temporarily.
- Check that the system drive has several gigabytes of free space.
- Restart NVIDIA-related services and try the App as administrator.
- If the problem began after a driver update, roll back or reinstall that driver.
1. End stuck NVIDIA processes
A background component can remain active after the visible window closes. Press Ctrl + Shift + Esc to open Task Manager. Under Processes, close the NVIDIA App and any NVIDIA installer process that is clearly stuck. Do not end unrelated Windows processes. Start the App again from the Start menu.
If the interface still appears completely black, press Win + Ctrl + Shift + B. Windows will reset the graphics driver and the screen may blink briefly. This shortcut does not reinstall anything; it simply asks Windows to reinitialize the display driver.
2. Restart the NVIDIA services
Press Win + R, type services.msc, and press Enter. Find NVIDIA Display Container LS. Its startup type should normally be Automatic and the service should be running. Right-click it and choose Restart. If the service repeatedly stops, continue to the driver-repair steps instead of forcing it to run.
3. Repair networking, time and download conditions
The App cannot reliably authenticate or download packages when Windows has the wrong date, a restrictive VPN, a proxy problem or a filtered connection. Set the clock automatically under Settings > Time & language > Date & time. Disconnect a VPN temporarily and try another trusted network if the download remains at zero percent.
4. Clear only the NVIDIA App cache
Close the App first. Press Win + R, enter %localappdata%, and look for the NVIDIA Corporation folder associated with the App. Rename its cache folder rather than permanently deleting your whole NVIDIA directory. Reopen the App so it can rebuild temporary files. Renaming is safer because you can restore the old folder if needed.
Avoid downloading random “cache cleaners” or registry files. They rarely identify the real cause and can remove information required by other programs.
5. Install Windows updates and verify system files
Open Settings > Windows Update and install normal security and servicing updates. Restart afterward. If Windows components appear damaged, open Terminal as administrator and run:
sfc /scannowWhen SFC reports that it could not repair everything, run:
DISM /Online /Cleanup-Image /RestoreHealthRestart and run SFC once more. These commands repair Windows components; they do not replace the NVIDIA driver itself.
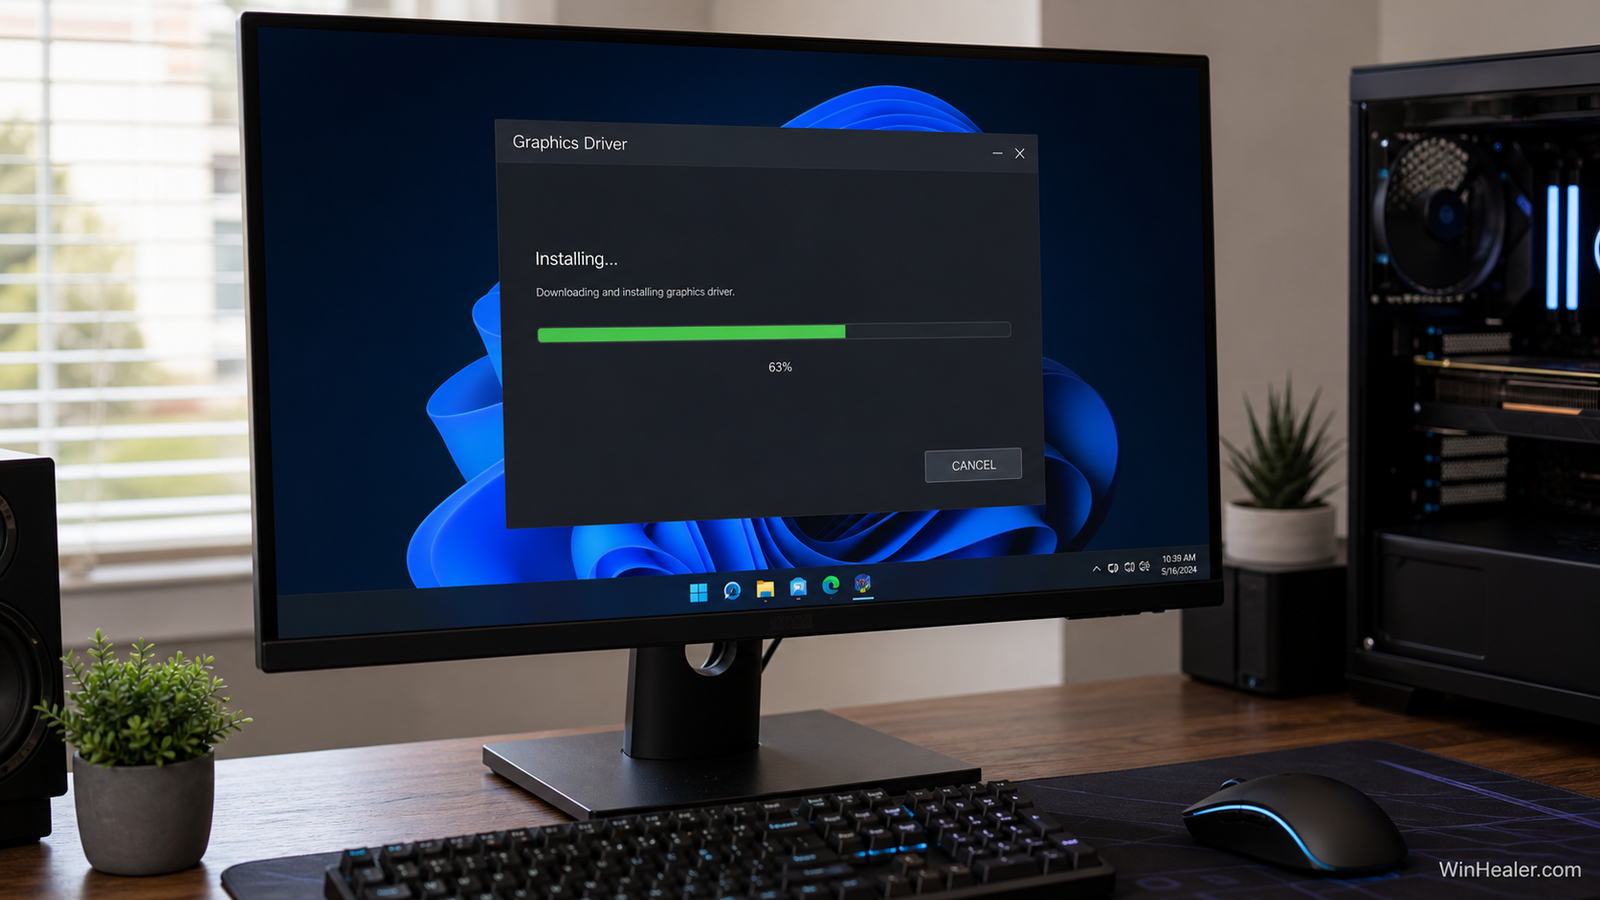
6. Reinstall the correct Game Ready or Studio Driver
Use NVIDIA’s official driver page or the NVIDIA App. Choose a Game Ready Driver for new-game support, or a Studio Driver when stability in supported creative applications matters more than day-one game optimization. Confirm the exact GPU model and whether the computer is a desktop or notebook before downloading.
During installation, choose a custom installation and the clean-install option when available. Expect the display to flicker. Do not switch off the computer simply because the screen turns black for a few seconds.
7. Roll back when the newest driver caused the problem
If games and the NVIDIA App worked before the update, a rollback is a sensible diagnostic step. Open Device Manager > Display adapters, open the NVIDIA GPU’s properties and inspect the Driver tab. The Roll Back Driver button is available only when Windows still has the previous package. Otherwise, download an earlier compatible driver from NVIDIA and install it manually.
NVIDIA explains that its rollback tools can return to a previously installed driver, while a clean installation removes the stored driver history. That is why it is useful to note the working driver version before performing a full cleanup.
8. Check the GPU and power connection
Move to hardware checks only when Windows repeatedly loses the GPU, Device Manager shows Code 43, the PC restarts under load, or the display stays black before the desktop appears. Shut the PC down, switch the power supply off and unplug it. Never reseat hardware while power is connected.
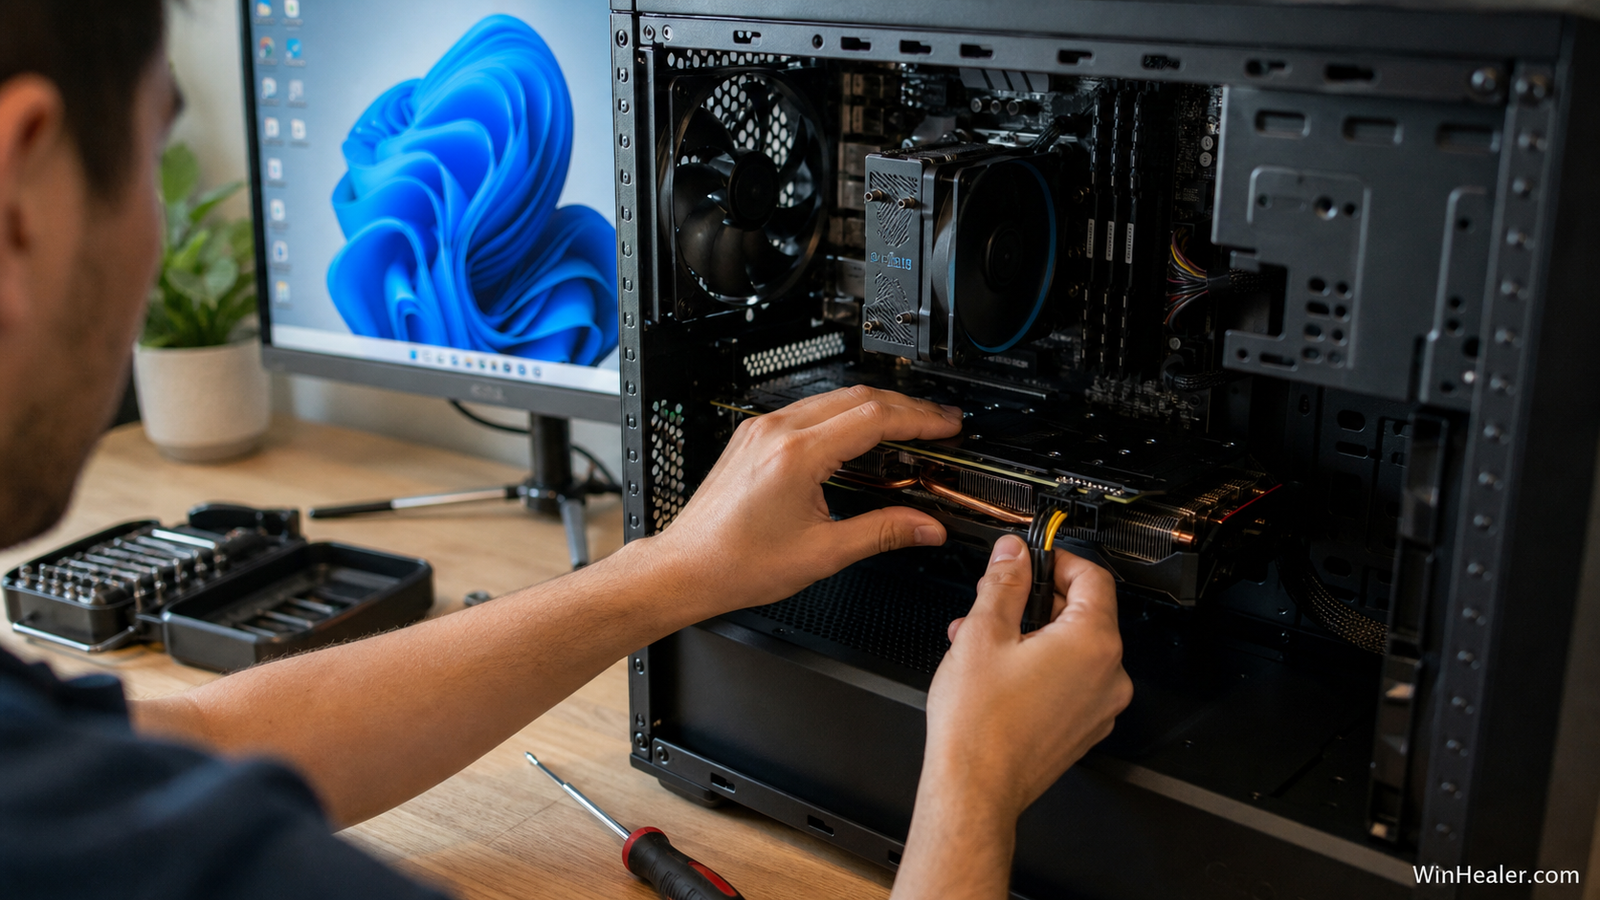
Confirm that the monitor cable is connected to the graphics card rather than the motherboard when you intend to use the discrete GPU. Inspect the card’s power connectors and avoid loosely connected adapters. If you are unsure about the cabling, consult the graphics-card and power-supply manuals.
9. Test without overlays and overclocks
Disable the NVIDIA overlay temporarily, along with Discord overlays, RGB utilities and third-party performance monitoring. Return GPU and CPU settings to stock values. An unstable undervolt or overclock may pass a short benchmark but still crash during driver installation, video encoding or a specific game.
When a black screen is serious
A short black screen during driver installation is normal. A screen that stays black after several minutes, repeated reboot loops, burning smell or loss of all fan activity is not. Power down safely and investigate the hardware, monitor cable and power supply. When possible, test another display cable or monitor before assuming the graphics card has failed.
What not to do
- Do not download modified drivers from unofficial websites.
- Do not delete the entire DriverStore folder.
- Do not repeatedly interrupt an active driver installation.
- Do not use registry “fixes” copied from unknown videos.
- Do not flash a GPU BIOS as a routine troubleshooting step.
Final recommendation
For most systems, restarting the NVIDIA service, correcting download conditions and reinstalling the official driver resolves the problem. Use a rollback when the fault began immediately after an update. Treat persistent Code 43 errors, crashes under load and power-related black screens as possible hardware or system-stability problems rather than App problems.
Official references
- NVIDIA: Upgrade to the NVIDIA App
- NVIDIA Game Ready Drivers
- Microsoft: Repair Windows files with SFC and DISM
Editorial note: Menu names and available driver options can change with App and Windows updates. Record the working driver version before making changes so your result can be repeated.