Have you opened Task Manager and noticed that your Disk Usage is stuck at 100% in Windows 11?
This is one of the most common problems faced by Windows users. When your disk usage reaches 100%, your PC may become extremely slow, applications may freeze, and even simple tasks like opening folders can take a long time.
In this guide, I will explain why Windows 11 shows 100% disk usage and the best methods to fix this problem.
What Does 100% Disk Usage Mean?
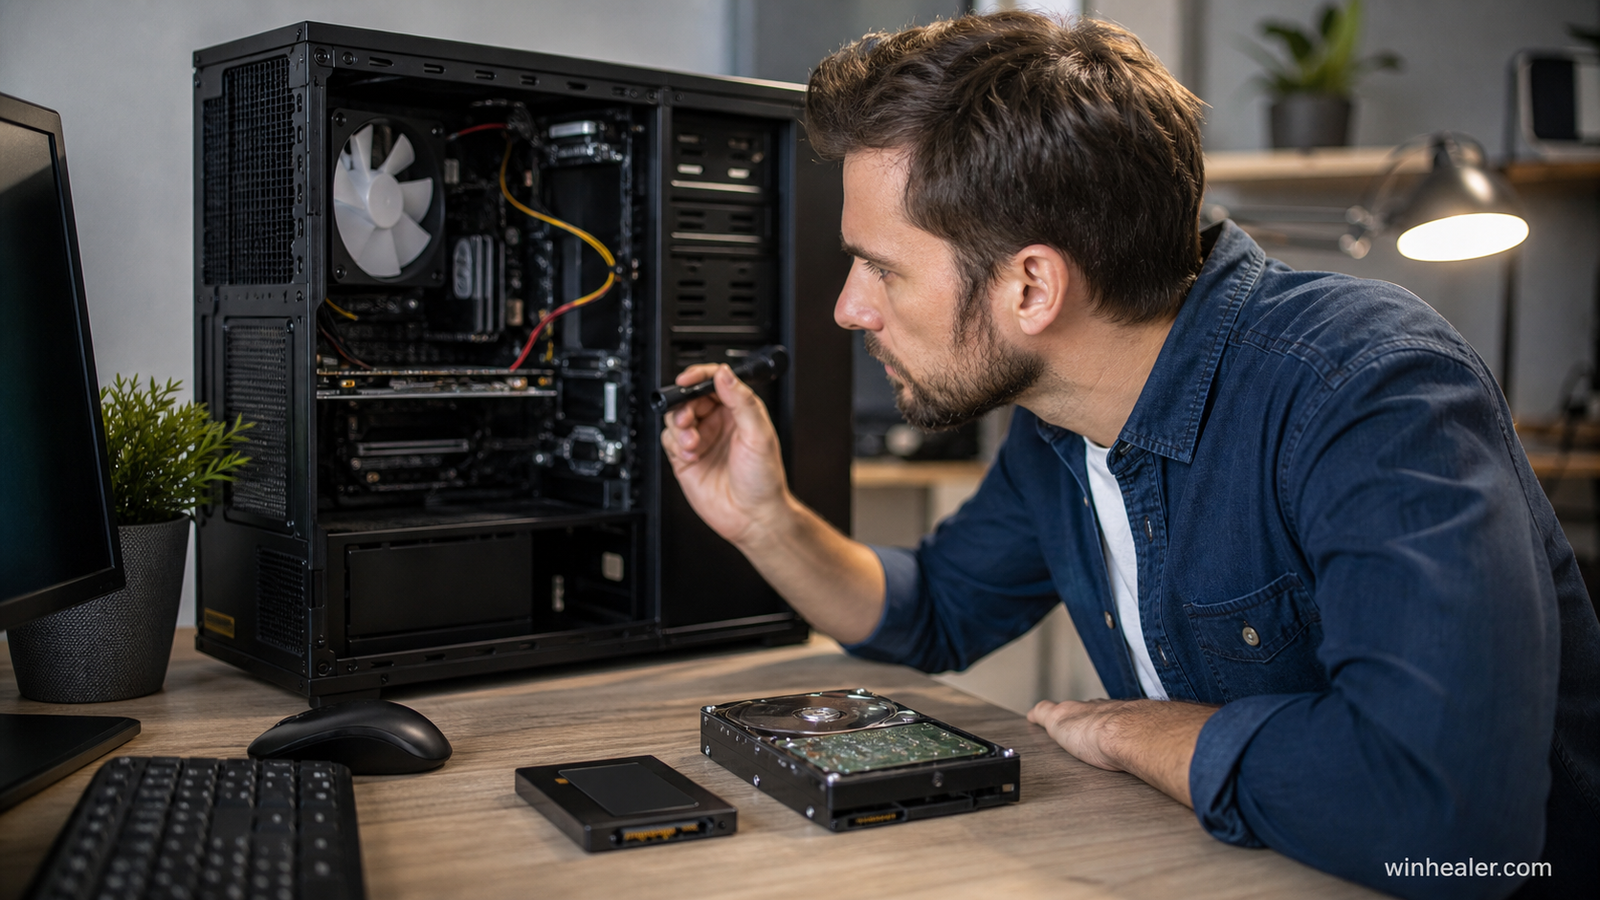
When Windows shows 100% Disk Usage, it means your storage drive (HDD or SSD) is working at maximum capacity.
It does not always mean your storage is full. It means Windows is actively reading or writing data at its maximum speed.
Common symptoms include:
- Slow computer performance
- Programs taking too long to open
- System freezing
- Long startup times
- Games loading slowly
Why Does Windows 11 Show 100% Disk Usage?
There are several reasons behind this issue:
- Too many background applications
- Windows Search indexing
- Outdated drivers
- Windows Update processes
- Antivirus scanning
- Low RAM causing extra disk usage
- Hard drive health problems
- Malware or unwanted programs
Method 1: Restart Your Computer
Sometimes Windows services can get stuck and use too much disk power.
A simple restart can fix temporary problems.
Before trying advanced solutions:
- Save your work
- Restart your PC
- Check Disk Usage again
Method 2: Check Which Program Is Using Your Disk
First, find the cause.
Press:
Ctrl + Shift + Esc
to open Task Manager.
Click:
Processes → Disk
Look for applications using high disk resources.
Common examples:
- Windows Update
- Browser processes
- Antivirus software
- Cloud sync apps
Close unnecessary applications.
Method 3: Disable Windows Search Indexing
Windows Search helps you find files faster, but sometimes it can cause high disk usage.
Steps:
- Press:
Windows Key + R
- Type:
services.msc- Find:
Windows Search
- Right-click → Properties
- Click:
Stop
- Set Startup Type to:
Disabled
Restart your PC and check performance.
Method 4: Disable SysMain Service
SysMain (previously known as Superfetch) helps improve application loading, but it can sometimes cause high disk usage.
Steps:
- Open:
services.msc
- Find:
SysMain
- Right-click → Stop
- Restart your computer
If performance improves, you can keep it disabled.
Method 5: Update Storage and Chipset Drivers
Old drivers can create performance problems.
Update:
- Storage controller drivers
- Motherboard chipset drivers
- SSD firmware
You can update drivers through:
Device Manager → Storage Controllers
or your motherboard/laptop manufacturer’s website.
Method 6: Check Windows System Files
Corrupted Windows files can cause disk problems.
Open:
Command Prompt as Administrator
Run:
sfc /scannowAfter completion, run:
DISM /Online /Cleanup-Image /RestoreHealthThese commands repair damaged Windows components.
Method 7: Disable Unnecessary Startup Programs
Many programs start automatically with Windows.
They increase:
- Boot time
- RAM usage
- Disk activity
To disable them:
- Open Task Manager
- Select:
Startup Apps
- Disable programs you don’t need
Method 8: Check for Malware
Sometimes unwanted software runs in the background and uses your disk.
Run:
- Windows Security Full Scan
- Malware scan from trusted security software
Remove suspicious programs.
Method 9: Free Up Storage Space
Low storage can slow down Windows.
Try cleaning:
- Temporary files
- Old Windows update files
- Recycle Bin
- Unused applications
Go to:
Settings → System → Storage
Enable:
Storage Sense
Method 10: Upgrade From HDD to SSD
If you are still using a traditional hard drive (HDD), Windows 11 may feel slow.
Upgrading to an SSD can provide:
- Faster boot times
- Faster application loading
- Smoother performance
- Lower disk usage problems
For Windows 11, an SSD is highly recommended.
My Personal Recommendation
From my experience, the most common causes of 100% disk usage are:
- Old HDD storage
- Background Windows services
- Outdated drivers
- Too many startup programs
Before reinstalling Windows, try the solutions above. In many cases, you can fix the issue without losing any files.
Final Thoughts
The 100% Disk Usage problem in Windows 11 can make even a powerful PC feel slow. Fortunately, it is usually caused by software settings, background processes, or outdated hardware.
Follow the troubleshooting steps in this guide, and your PC should become faster and more responsive.
For more Windows fixes, PC optimization guides, hardware updates, and gaming tips, keep following WinHealer.