
A good cooling system is important for every PC. Whether you are gaming, editing videos, mining crypto, or overclocking your CPU/GPU, controlling your fan speed helps maintain better temperatures, lower noise, and longer hardware life.
Every motherboard brand has its own BIOS settings and software tools. In this guide, I will explain how to control cooling fan speeds for different motherboard brands.
Before Changing Fan Speed
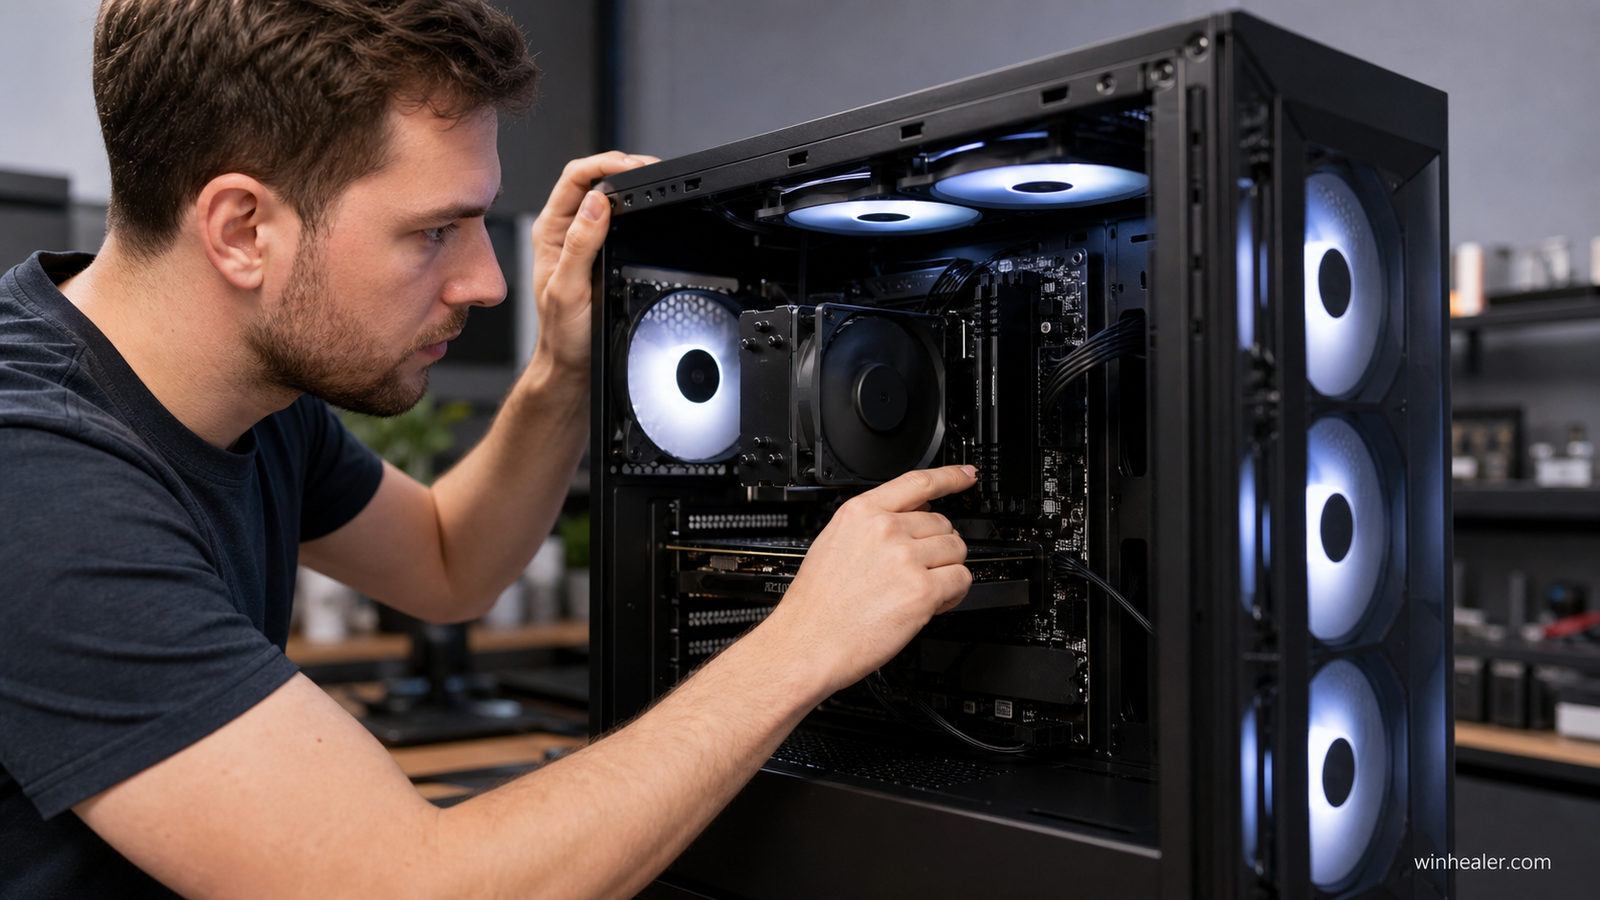
First, check:
✅ Your fans are connected correctly
✅ CPU fan is connected to CPU_FAN header
✅ Case fans are connected to SYS_FAN / CHA_FAN headers
✅ BIOS and motherboard software are updated
You can monitor temperatures using:
- HWiNFO
- HWMonitor
- Core Temp
- MSI Afterburner (GPU)
1. ASUS Motherboard Fan Control
Recommended Tool:
ASUS Armoury Crate + Fan Xpert
ASUS provides one of the best fan control systems.
Supported motherboards:
- ROG series
- TUF Gaming series
- PRIME series
Method:
- Install Armoury Crate.
- Open Fan Xpert.
- Run automatic fan calibration.
- Create your custom fan curve.
Example:
CPU Temperature:
- Below 40°C → 30% fan speed
- 60°C → 50%
- 75°C → 80%
- 85°C+ → 100%
BIOS Method:
- Restart PC.
- Press Delete/F2.
- Enter BIOS.
- Open:
Monitor → Q-Fan Control
- Select:
- Silent Mode
- Standard Mode
- Turbo Mode
- Manual Mode
2. MSI Motherboard Fan Control
Recommended Tool:
MSI Center + Fan Control
MSI motherboards support detailed fan tuning.
Supported:
- MPG series
- MAG series
- MEG series
- PRO series
Method:
- Install MSI Center.
- Install Hardware Monitoring module.
- Open Fan Control.
- Adjust fan curves.
BIOS Method:
Enter BIOS:
Hardware Monitor → Smart Fan Mode
You can control:
- CPU fan
- System fans
- Pump speed
MSI boards are popular because they provide detailed temperature-based fan curves.
3. Gigabyte Motherboard Fan Control
Recommended Tool:
Gigabyte Control Center (GCC)
Supported:
- AORUS
- Gaming series
- UD series
Method:
- Install Gigabyte Control Center.
- Open Fan Control.
- Select fan header.
- Adjust speed curve.
BIOS:
Open:
Smart Fan 6
Features:
- Fan calibration
- Temperature source selection
- Fan curve editing
Gigabyte Smart Fan 6 allows advanced control for gaming PCs.
4. ASRock Motherboard Fan Control
Recommended Tool:
ASRock A-Tuning
Supported:
- Taichi
- Steel Legend
- Pro series
Method:
- Install ASRock A-Tuning.
- Open Fan-Tastic Tuning.
- Detect fans.
- Create your custom curve.
BIOS:
Go to:
H/W Monitor → Fan Configuration
Options:
- Automatic mode
- Silent mode
- Performance mode
- Custom mode
5. Biostar Motherboard Fan Control
Recommended Tool:
Biostar Racing GT
Method:
- Install Biostar software.
- Open fan control.
- Adjust CPU and system fan speeds.
BIOS option:
Smart Fan Control
6. EVGA Motherboard Fan Control
Recommended Tool:
EVGA E-LEET X1
Features:
- Temperature monitoring
- Fan adjustment
- Hardware monitoring
BIOS:
Use:
Smart Fan Configuration
Universal Fan Control Software (Works With Many Motherboards)
If your motherboard software is limited, you can use:
Fan Control by Rem0o
Features:
✅ Supports many motherboard brands
✅ Advanced fan curves
✅ GPU temperature control
✅ CPU temperature control
✅ Multiple sensor options
You can create advanced profiles like:
Gaming Mode:
- Low temperature → Quiet fans
- High temperature → Maximum cooling
Best Fan Curve Settings for Gaming PC
A balanced gaming profile:
| Temperature | Fan Speed |
|---|---|
| 30°C | 25% |
| 50°C | 40% |
| 65°C | 60% |
| 75°C | 80% |
| 85°C+ | 100% |
Liquid Cooler Fan and Pump Control
For AIO liquid cooling:
Connect:
- Pump → AIO_PUMP header
- Radiator fans → CPU_FAN / CPU_OPT
Recommended:
Pump speed:
- 70-100% constant
Radiator fans:
- Controlled by CPU temperature
Common Fan Control Problems
Fans Running at Maximum Speed
Possible reasons:
- Wrong BIOS setting
- Missing temperature sensor
- Fan connected to wrong header
Solution:
- Check BIOS fan mode
- Enable PWM/DC mode
Fan Speed Not Changing
Check:
4-pin fan:
Use PWM mode
3-pin fan:
Use DC voltage mode
Final Thoughts
Controlling your PC fan speed is one of the easiest ways to improve your system experience. Whether you use ASUS, MSI, Gigabyte, ASRock, Biostar, or another motherboard brand, you can create a perfect balance between cooling performance and noise.
A good fan curve keeps your PC:
✅ Cooler
✅ Quieter
✅ More stable
✅ Longer lasting
Always test temperatures after changing settings, especially during gaming or heavy workloads.